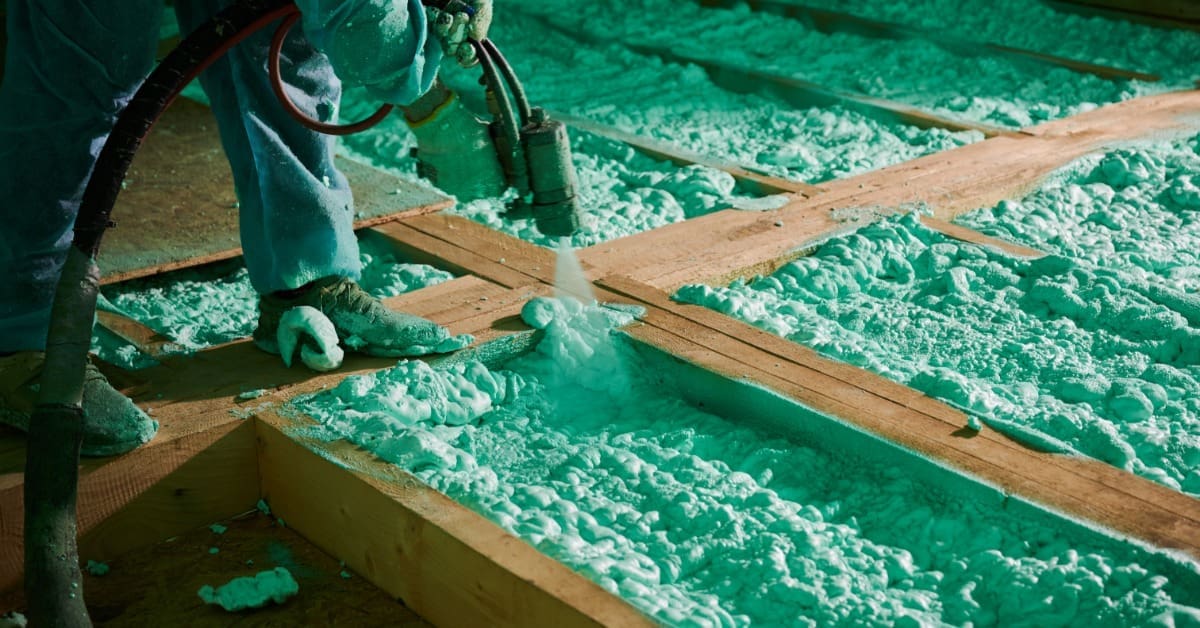
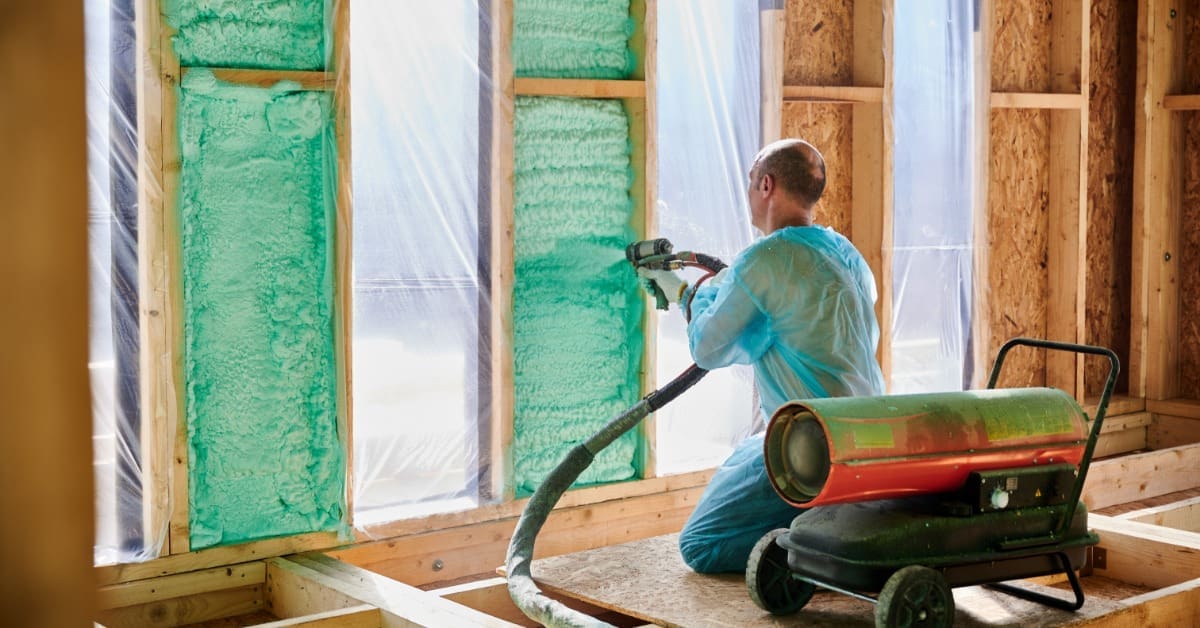
At the end of a spray day, the gun can’t just get set down and dealt with later. In spray foam insulation work, implementing flushing procedures for urethane spray guns helps clear residue before it hardens in the gun body, mixing area, or fluid passages. If you wait too long or clean the wrong way, the next startup can result in restricted flow, off-ratio spray, or a gun that no longer responds as it should.
Start by Shutting the Gun Down Correctly
Before any flushing begins, the gun must be properly shut down. You should stop the material supply in accordance with the equipment procedure, engage any gun safety features, and relieve pressure as required by the manufacturer. This step protects both the applicator and the gun before you start opening or cleaning any part of the assembly. If you skip the shutdown protocol, you can create a mess at best and a safety problem at worst.
You also want to keep the timing tight here. Once spraying stops, leftover material in the mix area and fluid side can begin setting up quickly. A delayed cleanup usually means more scraping and a harder inspection afterward.
Don’t Start Cleaning Under Pressure
A spray foam gun should never be opened or partially disassembled while pressure still sits in the system. Pressure can keep material trapped where you don’t expect it, especially around the mixing chamber or side seals. If the procedure calls for relieving pressure at the proportioner or the gun, do that first and do it fully. Cleaning gets easier once the system is safe and stable.
Clean the Mixing Chamber Before Material Sets
The mixing chamber needs attention first because material meets and buildup starts there. For most urethane spray foam guns, remove the chamber or open the surrounding area as specified by the manufacturer. Once accessible, wipe fresh residue with approved tools and materials before it cures. Fresh buildup removes more easily than material left to harden overnight.
Pay Attention to the Front End of the Gun
The front end often tells you how well the shutdown and flush routine has been working. If you keep finding heavy buildup around the chamber, tip area, or block face, the crew may be waiting too long to clean or may be skipping part of the process. Repeated buildup in the same place usually points to a routine problem, not just a dirty day.
Flush or Purge the Fluid Side
Some urethane spray guns use purge methods that rely on air or mechanical action rather than pushing a general solvent through the whole gun body. Others have manufacturer-approved cleaning fluids or procedures for clearing specific passages and components. The key point is simple: flush only with products and steps approved for that exact gun.
For spray foam insulation guns, the wrong fluid can damage seals, contaminate the next startup, or leave residue where it doesn’t belong. Follow the manual for what gets flushed and what should never be soaked or flooded.
Wipe Down Fluid Ports and Contact Surfaces
Once the main purge or flush step is complete, the gun still needs hand cleaning in the areas where residue likes to hide. Wipe the fluid ports, chamber seat, side seal contact points, and other exposed surfaces with approved cleaning materials. The goal is to remove fresh residue without forcing debris deeper into the gun. A careful wipe-down helps you leave the parts clean enough for inspection and reassembly.
Inspect Side Seals, Screens, and Wear Parts
A proper flush procedure shouldn’t end with cleaning alone. Once the gun is apart far enough for service, inspect the parts that wear during normal spray use. Depending on the gun, this can include side screens, O-rings, chambers, and other serviceable parts identified by the manufacturer. If one of those parts looks damaged, worn, or contaminated, flushing alone won’t solve the performance issue.
A gun that still sprays poorly after cleaning may not need another flush. It may need seals or another component replaced before it returns to service.
Look for the Signs Crews Usually Miss
Pay attention to uneven wear, torn seals, blocked screens, or parts that don’t sit correctly during reassembly. These smaller details often explain why a gun feels inconsistent even after the visible residue has worn off. If the front end looks clean but the pattern still seems off, the answer may sit in one of these wear points.
Apply Gun Grease Where the Manufacturer Calls for It
Many urethane spray foam guns need lubrication after cleaning and before reassembly. This usually means applying the proper gun grease to specific parts or contact areas listed in the manufacturer’s service procedure. Grease helps protect moving parts, supports sealing surfaces, and keeps the gun working more smoothly between cleanings. However, remember that too little grease can leave parts dry, while too much can create a mess and contamination. This step should stay precise.
Reassemble the Gun and Check Trigger Action
After cleaning and lubrication, reassemble the gun in the order specified by the manufacturer. Parts should seat properly, the chamber should align correctly, and the trigger or purge mechanism should move the way it’s supposed to. If anything feels off during reassembly, stop and check the fit before moving on.
Test Before the Next Full Spray Pass
A flushed gun should never go straight from maintenance into critical production without a quick test. When the system comes back online, test the gun according to the equipment procedure and confirm the pattern and overall function. This gives you a chance to catch any remaining issues before they affect the actual job.
A Practical Flush Checklist for Daily Use
When the day gets busy, a simple checklist helps the crew stay consistent without complicating the process. Here’s a short checklist you can use:
- Shut down the gun and material supply using the manufacturer’s procedure.
- Relieve pressure fully before opening or cleaning any part of the gun.
- Clean the mixing chamber and front-end buildup right away.
- Flush or purge only with approved products and methods.
- Wipe fluid ports, seats, and contact surfaces clean.
- Inspect seals, screens, and other wear parts before reassembly.
- Apply the correct gun grease where the service guide calls for it.
- Reassemble carefully and test the gun action before the next spray cycle.
End With Better Spray Performance
In real spray foam insulation work, consistently implementing flushing procedures for urethane spray guns protects more than cleanliness. They help preserve spray quality, reduce startup issues, and give you a better shot at keeping the gun responsive from one job to the next.
Need to replace your equipment? Spray Foam Systems offers spray foam equipment for contractors who want tools they can rely on in the field. When maintenance issues start affecting spray quality or daily workflow, the right replacement can help your crew get back to work confidently. Get in touch with us and find the right equipment today!